96″
Have you ever thought about building a Kayak?
Part One
Well, if you have not, think about it !!! I believe anyone, and I mean ANYONE, interested in building a Kayak CAN do it……
Our preference was a Tandem Kayak, stable, but faster than the average, and that we did not have to paddle in unison. Looking through many websites and catalogs we chose the Shearwater Tandem by Chesapeake Light Craft. This Kayak had everything we were looking for. We wanted to be in the same boat, we wanted it to be stable as we kayak in Flathead Lake at times and at 27″ wide it is, and at 18’6″ it is fast enough for us to get around well. We kayak in Lake McDonald a lot and it is almost 10 miles long and about 2 miles wide and we did not want to spend 3 or 4 days getting around it. Also, being the cockpits are just over 6 feet apart, we have no problems paddling, each as we please.
So, I ordered a set of plans. I was extremely pleased with what I got. Full size plans and a great assembly manual. Did I mention that I had never built a boat using ‘stitch and glue’ technics???
You will notice that I am not a ‘seasoned boatbuilder’ by any chance of the imagination.! There are several things I did in building this Kayak that I have never seen in ‘real boatbuilding’ but I am a person that ‘over does’ everything. This Kayak was built to be sturdy, stable and a boat to USE, not to set around and look at. So, the finish of the craft was not the hundreds of hours of sanding and many coats of fine finishes, but a good stable usable craft. Although I have had many compliments on the looks of it, that was NOT the reason for building it.
To build the Kayak, I first bought 6 sheets of 4 mm Meranti Plywood and ordered fiberglass and epoxy plus the accessories that the plans said I needed from Chesapeake Light Craft. I must admit that I was extremely grateful for the working relationship with Chesapeake Light Craft. An awesome group to work with.
First I needed a place to build it, as it was winter, January 2021, I needed it to be warm and dry, so my second car got the driveway and the kayak got the second bay of the garage. And I needed something to build it on. Hummm, a sheet of 1/2″ particleboard ripped into two pieces 24″ by 96″, a few 2 X 4’s under it and I had a 16 foot long workbench.
Did I mention that I have never gotten along with “sequences” ? Building this Kayak was heavy into “sequences”. Some days I would just get sooo involved in studying the “sequences” that I would just go back inside, turn the fireplace on, (yes, it is gas) sit back in the recliner, and spend the day contemplating the “sequences”.
So, after a few of these days, I ripped a piece of Particleboard and built the table to get started.
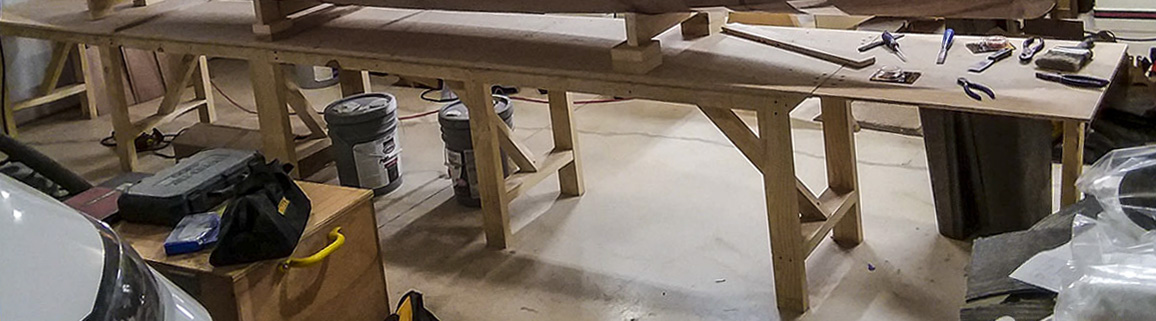
A good sturdy table is a must. This is 24″ wide and 16 feet long with a hinged extension to make it 18′ 6″. Also the hinged extension allowed for me to get from one side of the garage to the other….
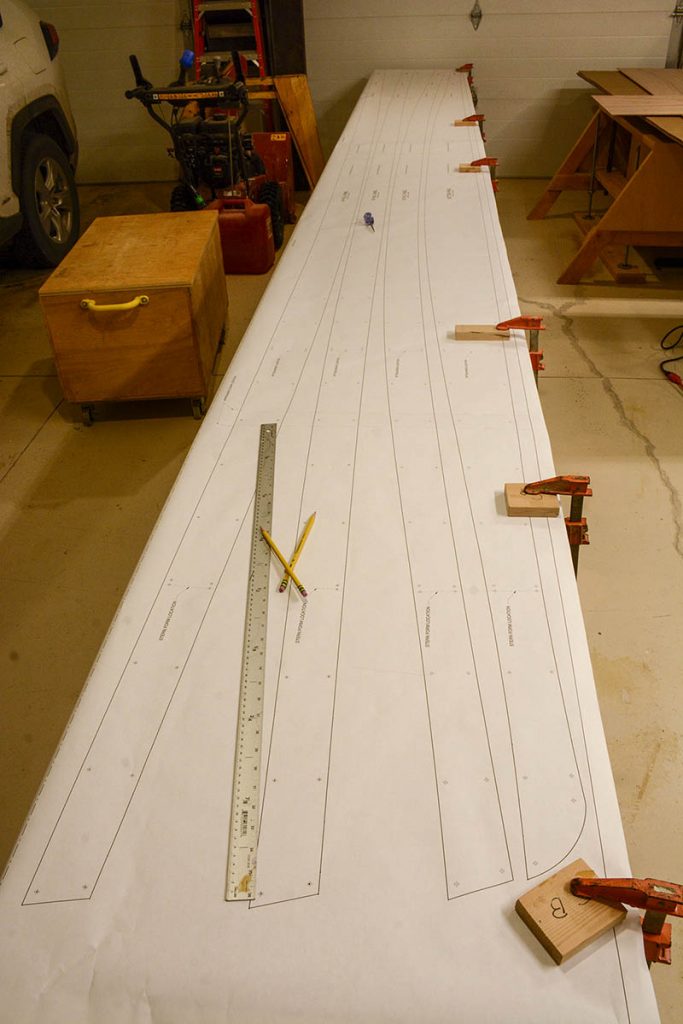
This is the ‘Full Size’ plans from Chesapeake Light Craft. Extremely well planned and printed. Clamped two sheets of plywood to the table and used the awl to mark the holes and lines. This worked awesome!
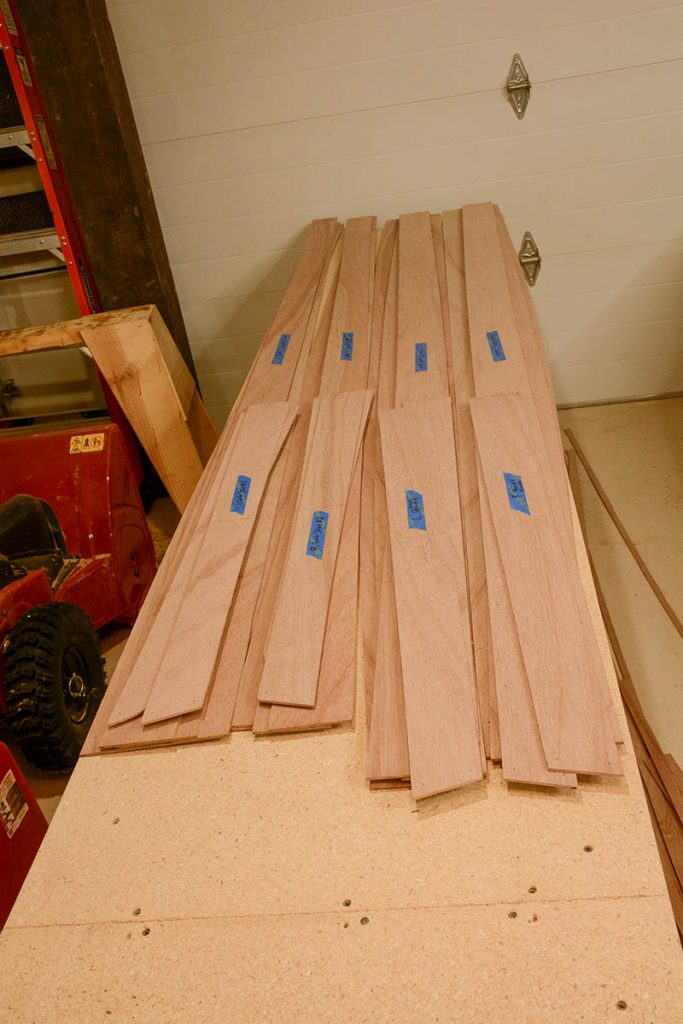
This is what you wind up with. Just sat an wondered if this would ever look like a BOAT….. Notice that each piece is marked as to what it is and ‘inside’ and ‘outside’.
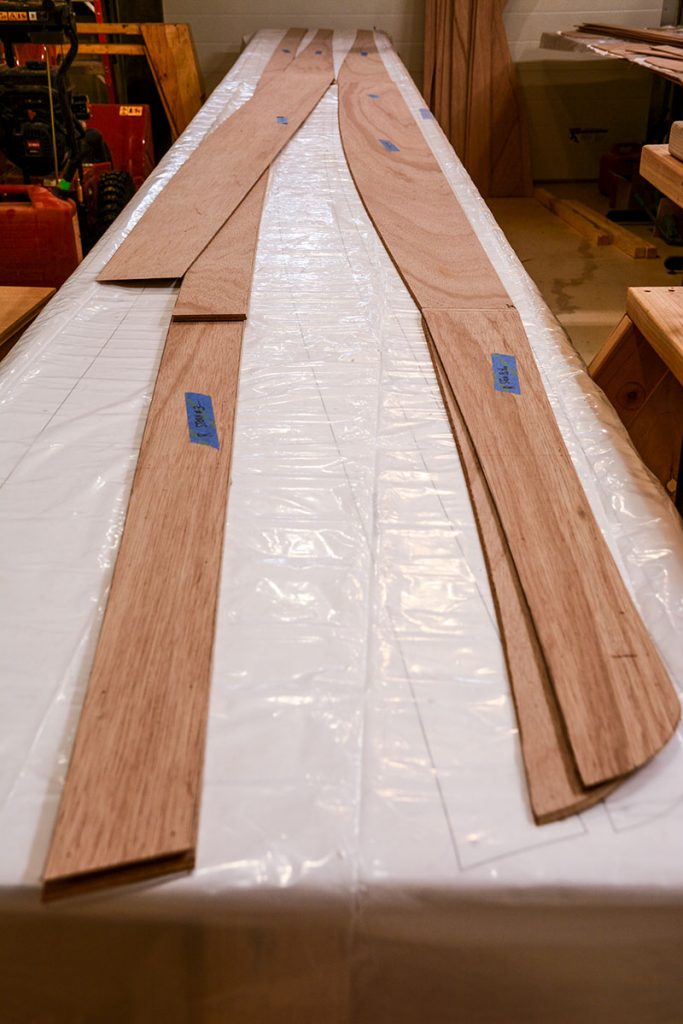
Since I could not buy 20 foot long sheets of plywood, they have to be scarfed together. By putting the Plans down on the workbench and covering it with plastic, NOTICE I did cover it with plastic, this keeps the strips of plywood from being glued to the plans. Yes, I have done things like that before.
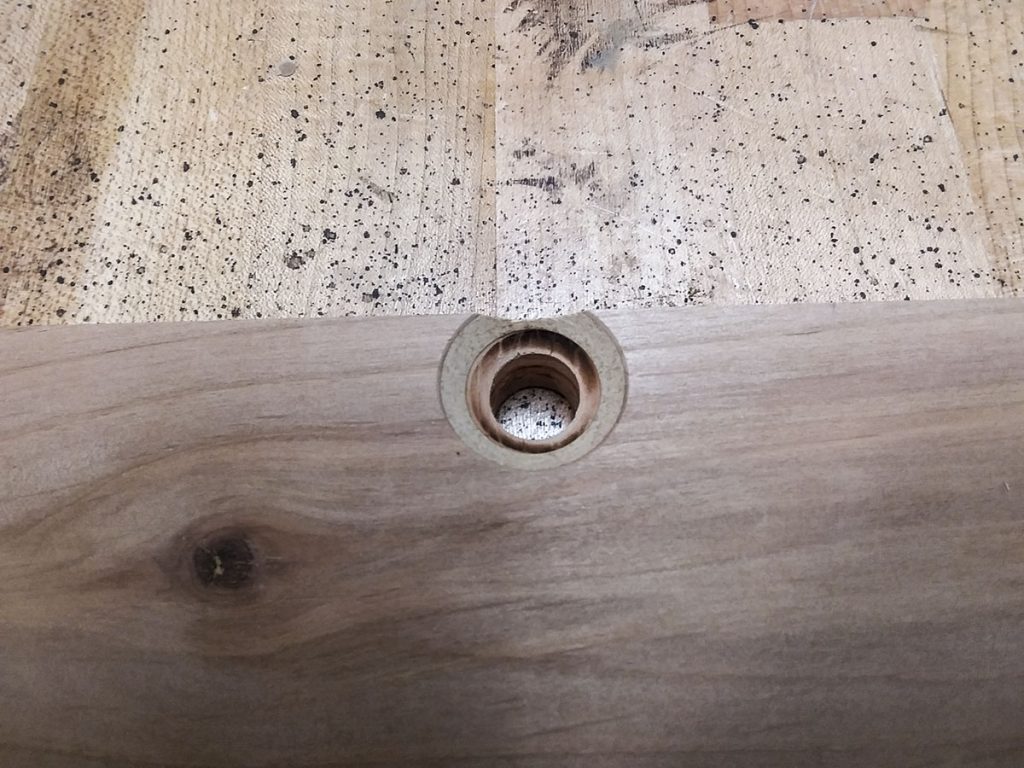
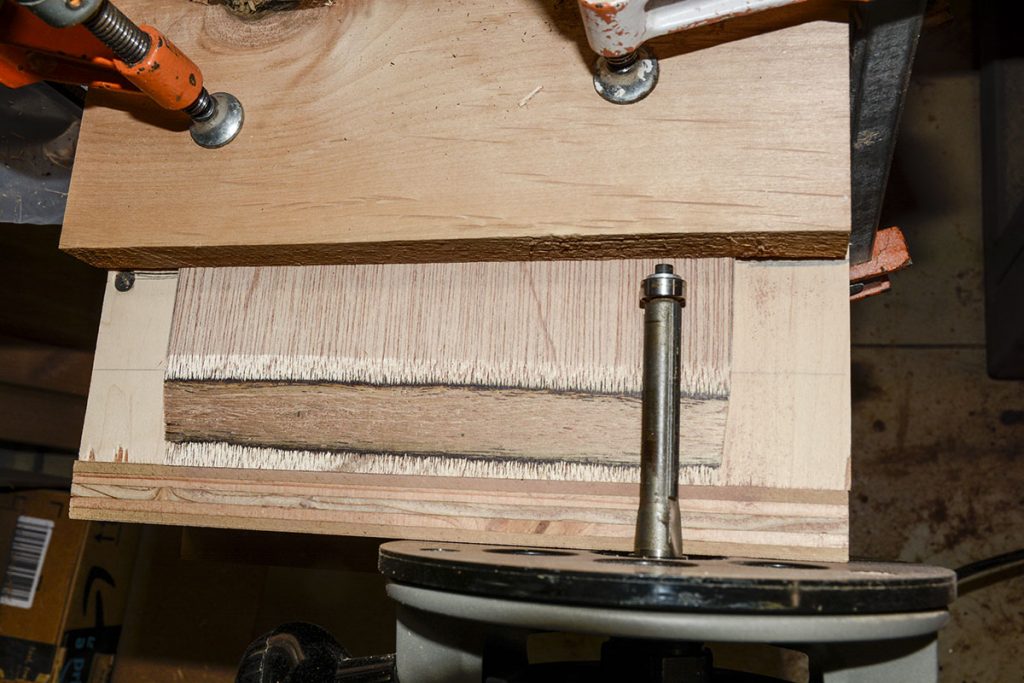
Before scarfing the joints, the edge of the plywood needs beveled to fit together tightly. The plans recommend doing this with sandpaper or a low angle block plane, but I had to make a fixture to do this on the shaper. Those that know me, know I can’t do things like the instructions. Besides this was many times faster and did a great job. I drilled a hole in a piece of scrap to clear the bearing on the 45 degree cutter.
This is upside down of the scrap before I trimmed it to allow for cutting a bevel on curved pieces.

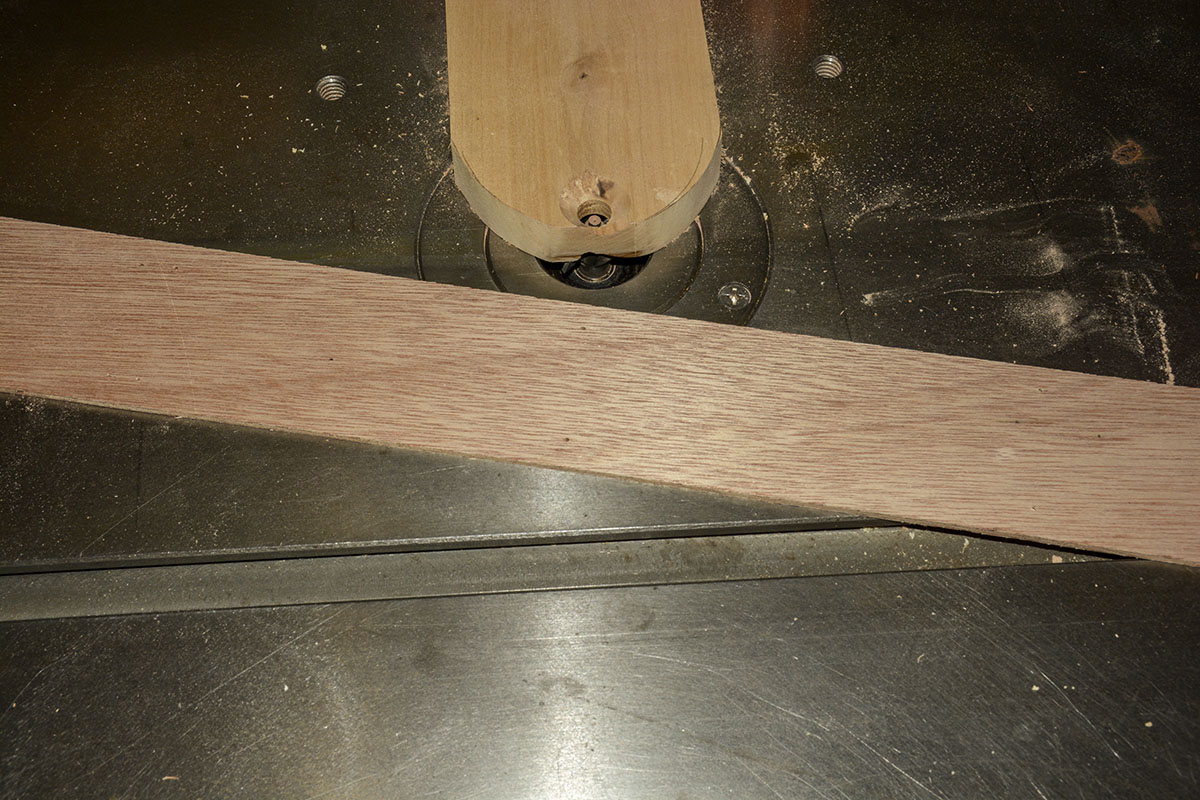
This is cutting the bevel as the plywood is less than 3/16″ thick I could not use the bearing to do this. The plywood just slides along the wood scrap that I made. Worked great! The red circles show the location of the holes for tying the plywood together with copper wire. The ‘stitch and glue’ boatbuilding. If anyone builds a Kayak and is interested in making bevels like this, just contact me and I will be most happy to share how this was done.

The next project was to scarf the ends of the plywood strips. So, after much research on the subject, I made a fixture to use what I had to work with. A router and a long straight cutting bit. Just putting together this fixture with drywall screws, I was able to accomplish this.
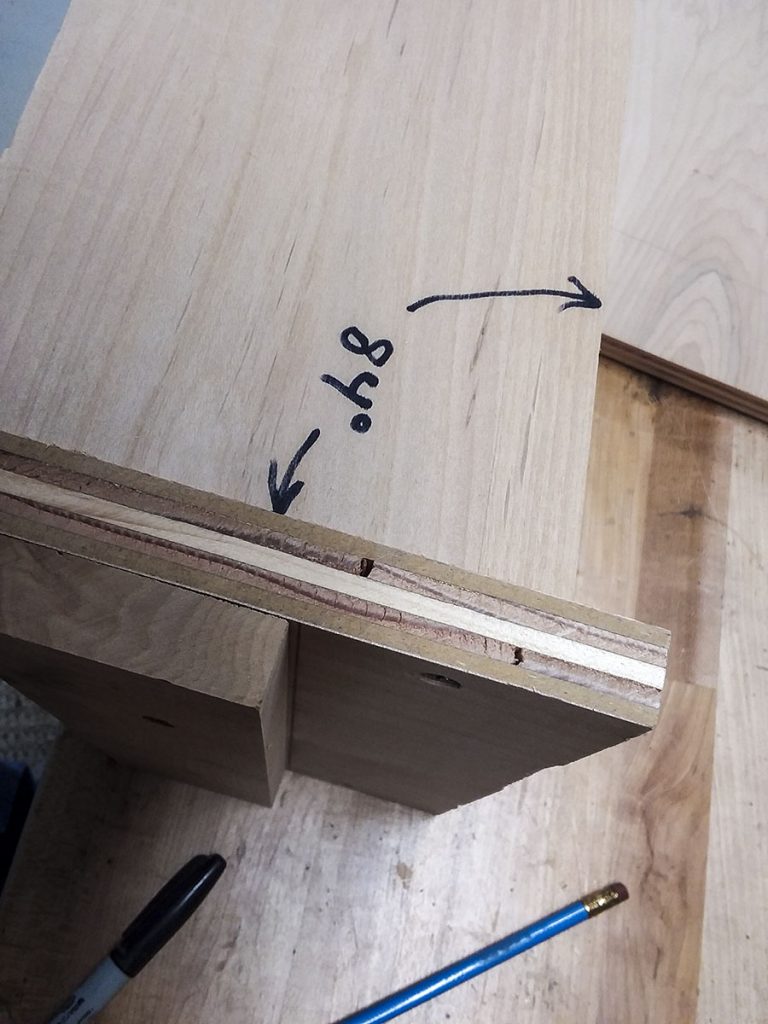
The end of the plywood was cut at 84 degrees, could have been 85 degrees and it would given me a little longer scarf.
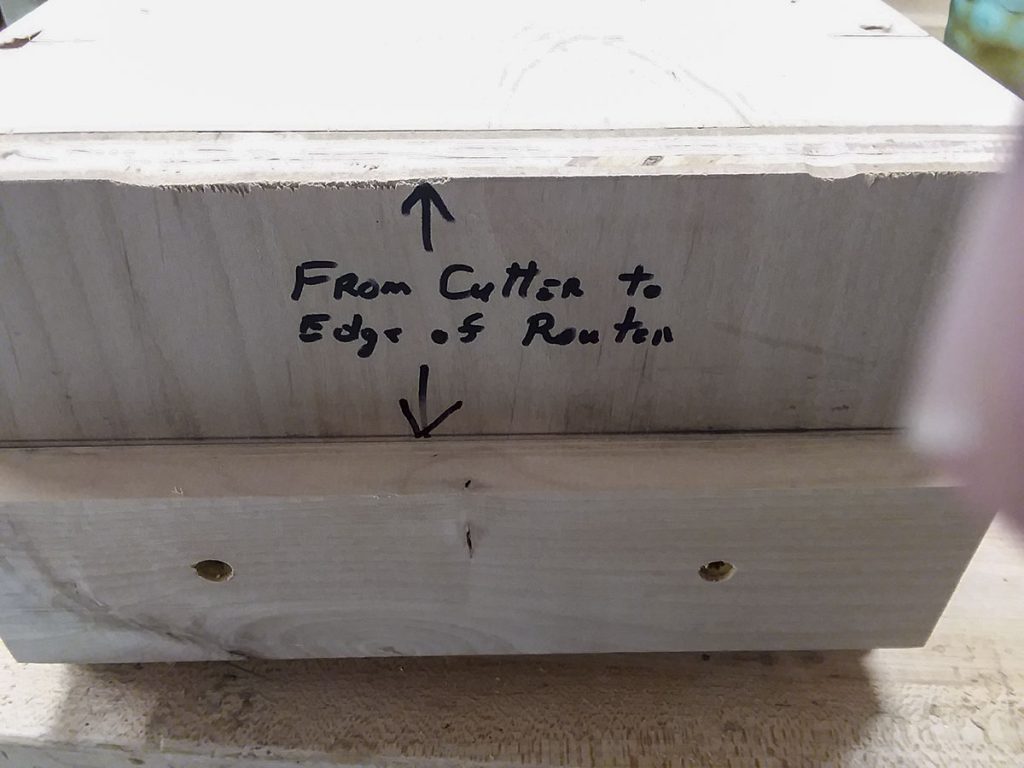
This piece of scrap wood was screwed to the fixture to allow the edge of the Router to ride along. When I put it on, the plywood faceplate extended above the top about 1/16″ and was trimmed with the Router to about .005″ above the top to allow a tiny edge for the plywood strips to fit against. This is a little tricky, but you can do it.
This is how the scarf is cut. It worked very well. I was pleased with the outcome of this fixture. It made cutting the scarfs very quick. Again, you go by the blue tape markings of side and end of the pieces, cause they have to fit correctly together or the Kayak looks very odd !
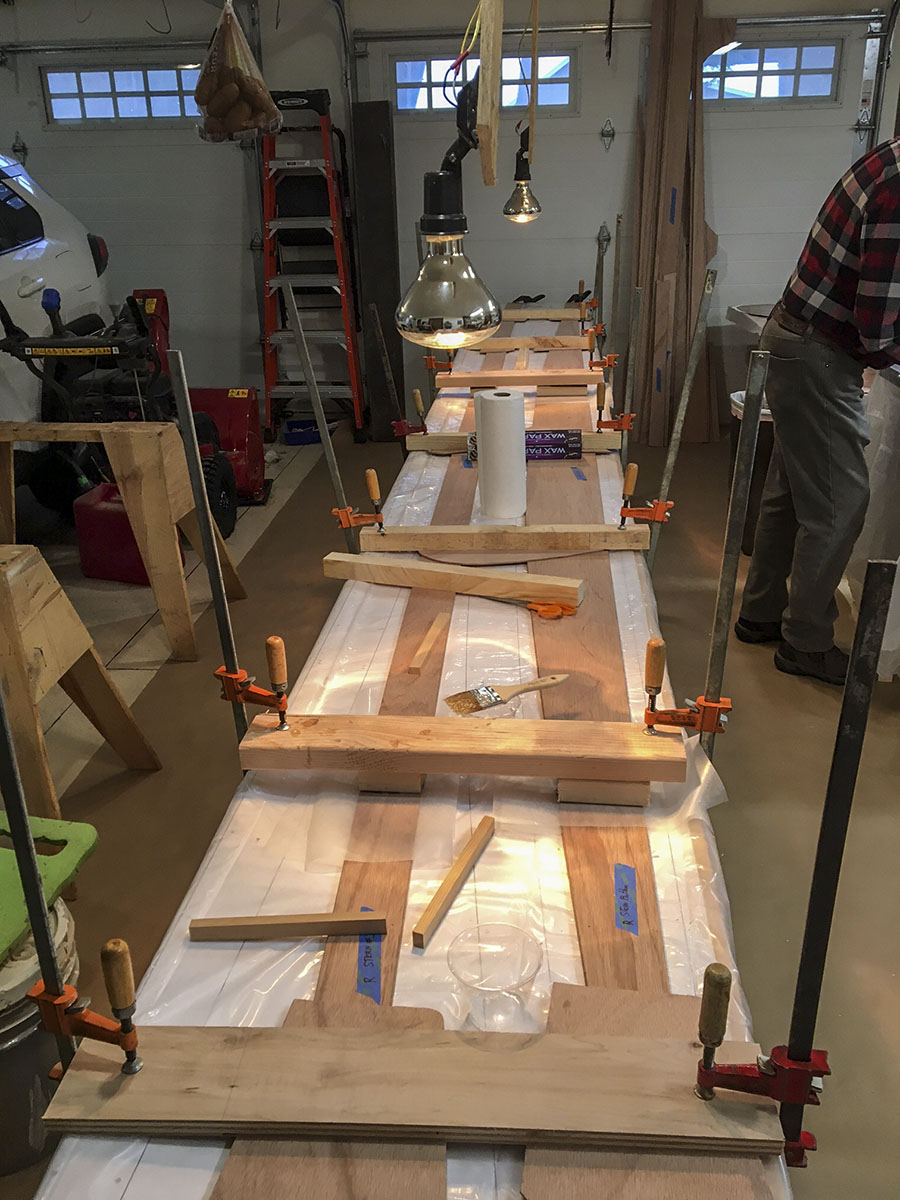
With the scarfs cut, it was time to ‘glue up’ the strips to make them over 18 feet long. I must state, the Manual to build this from Chesapeake Light Craft was very detailed and gave you every bit of information needed, even if you had never built a boat !!! It was January in Montana and I had put up some Heat Lamps to help the epoxy cure. They were NOT needed. Did not use them after the first ‘glue up’. The heater in the garage keep the temperature to 68 to 70 degrees. Using the plans under the plastic to do the ‘glue up’ and doing two pieces with wax paper between, was an excellent way to create a great kayak. By doing two at a time, the left and right sides were as identical as possible.
Again, if you have an interest in any of these methods that I used in making this Kayak, please contact me.